Visual tour
Day 2: Build and operate
Design a small topology, start nodes, open a console, then switch Visualize lenses for a demo.
Goal
Design a small topology, start nodes, open a console, then switch Visualize lenses for a demo.
Why this day exists
Most lab accidents happen when people edit, start, and present in the same mental mode. VEX-NX separates Design / Operate / Visualize on one canvas.
Storyboard
1. Workspace bar

| What you see | Modes, Classroom, Preview, More |
| Why it matters | One dense bar keeps the canvas large |
| Try it | Open any lab |
| Cookbook | Toolbars and More menu |
| Truth | Live UI |
2. Design canvas
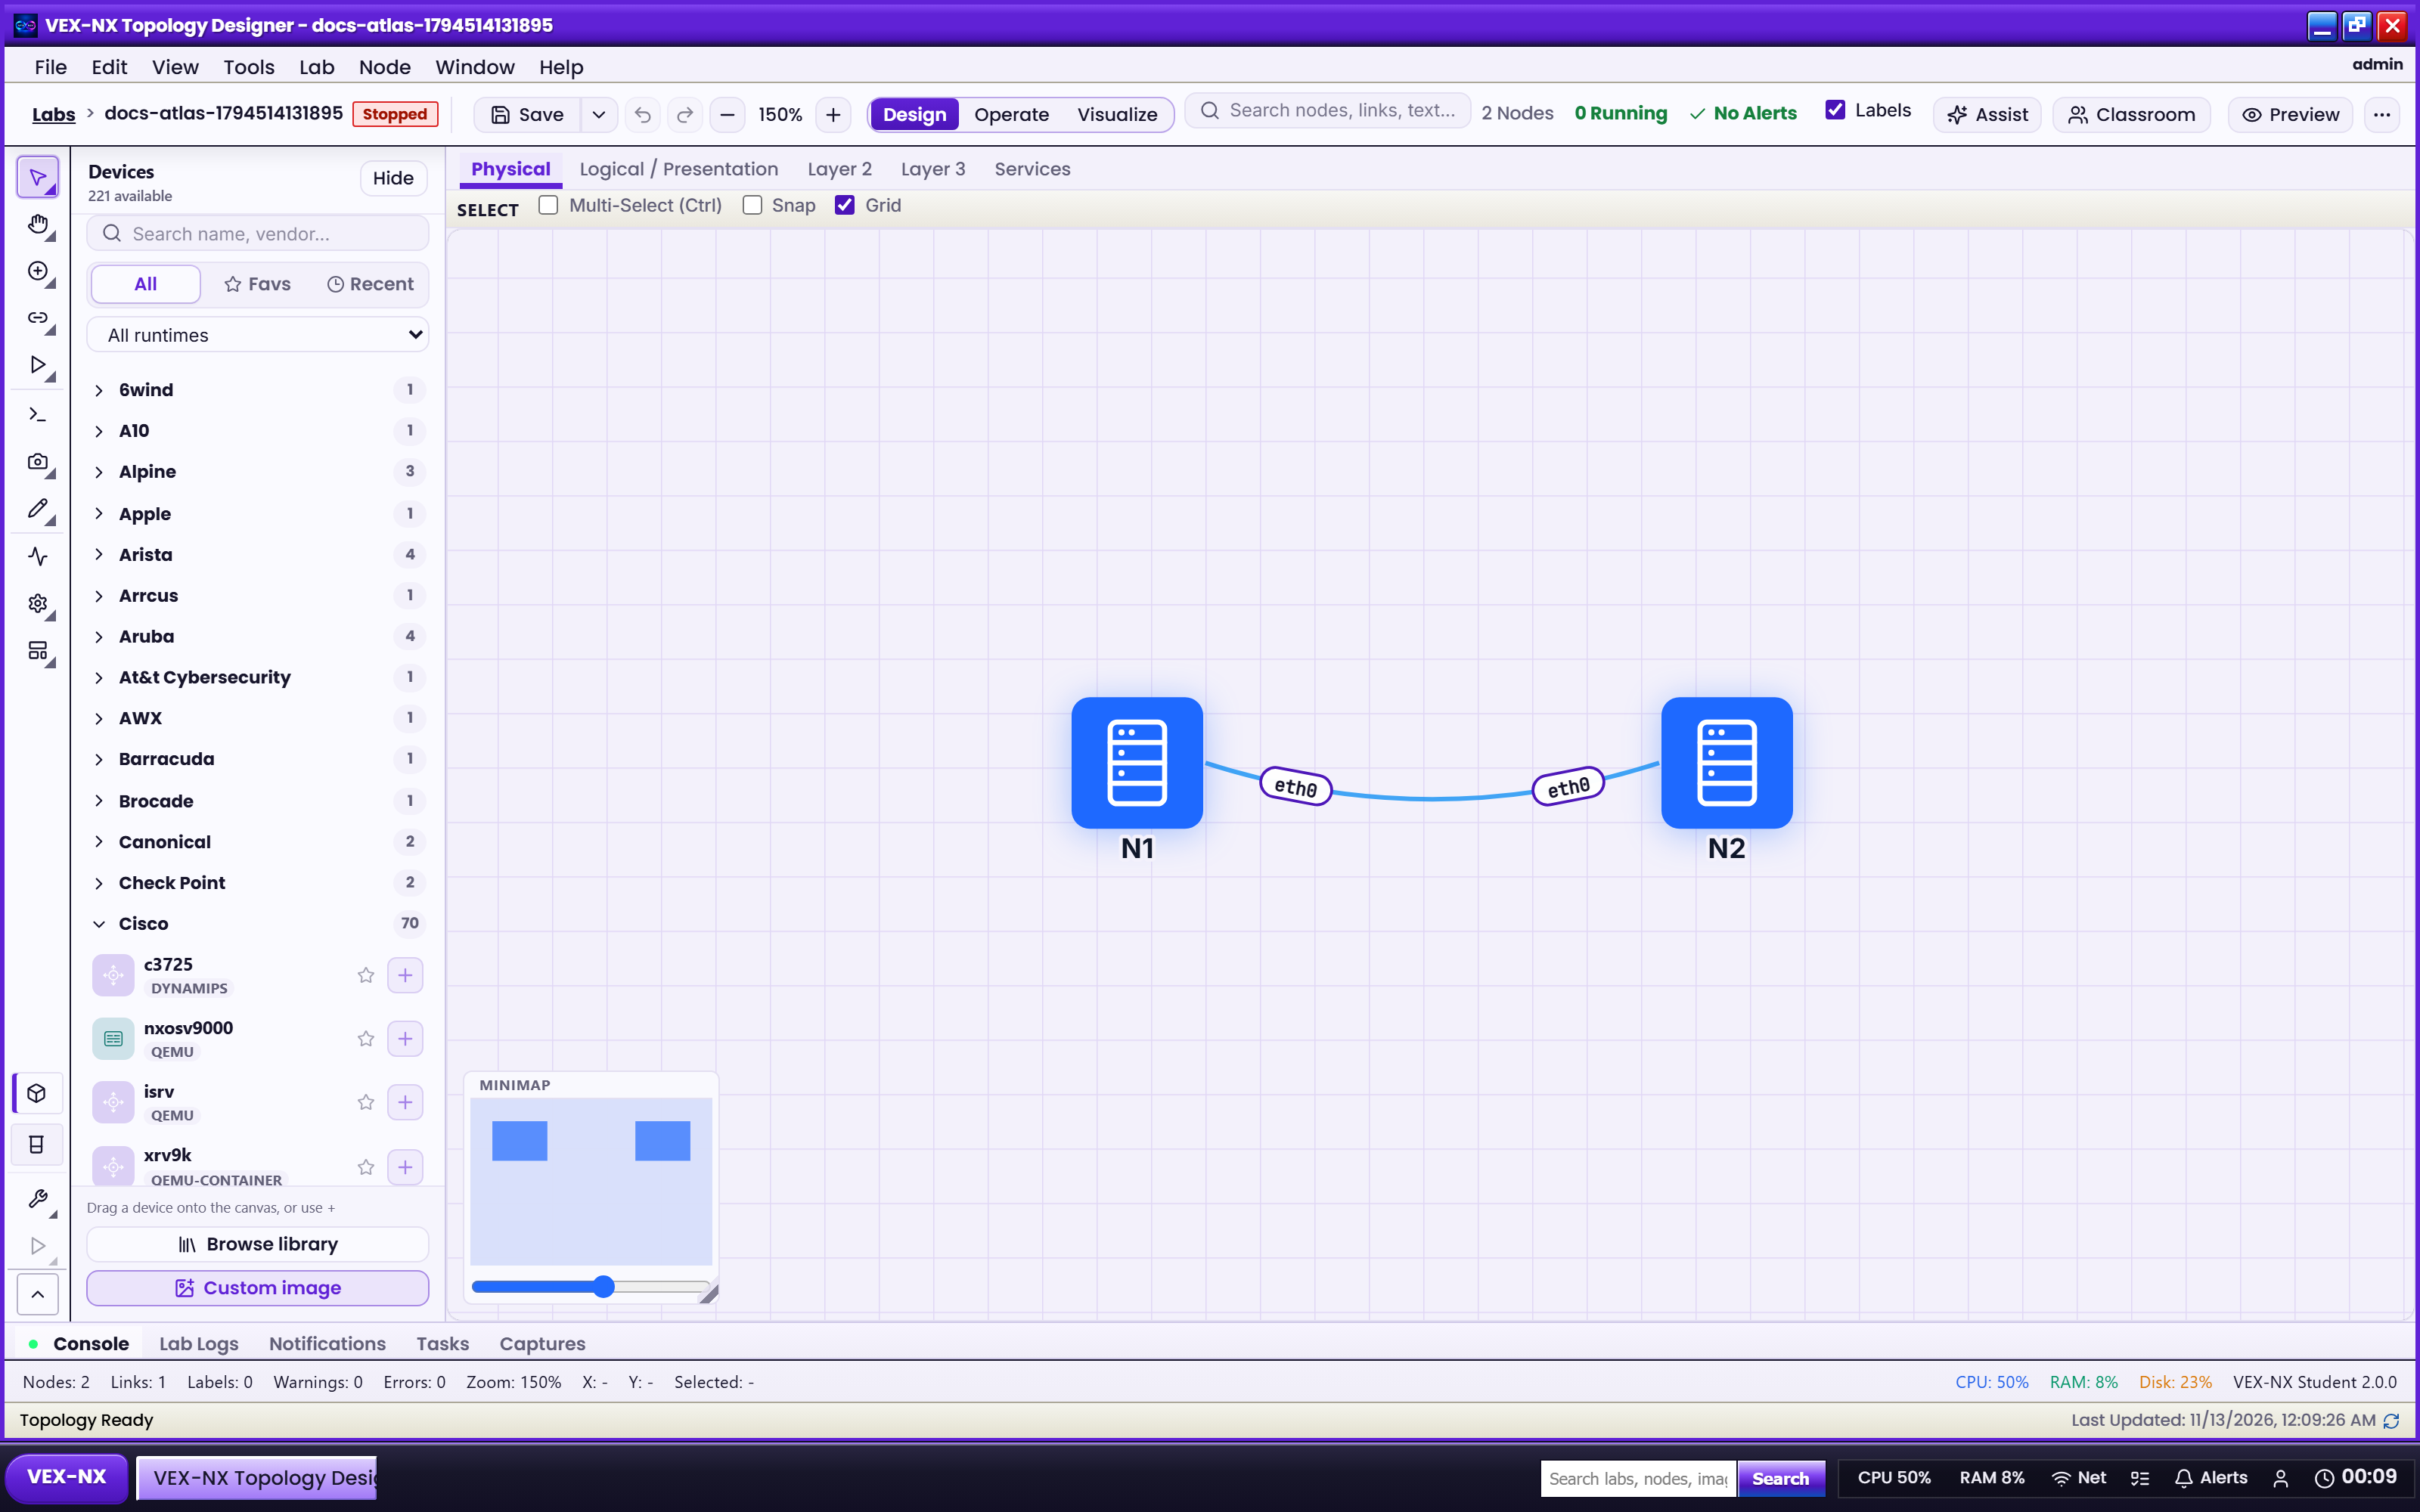
| What you see | Nodes and links on the physical topology |
| Why it matters | Physical edit once - logical views derive later |
| Try it | Design -> add templates -> click ports to link |
| Cookbook | Design mode |
| Truth | Live UI |
3. CSR interface roles (diagram)
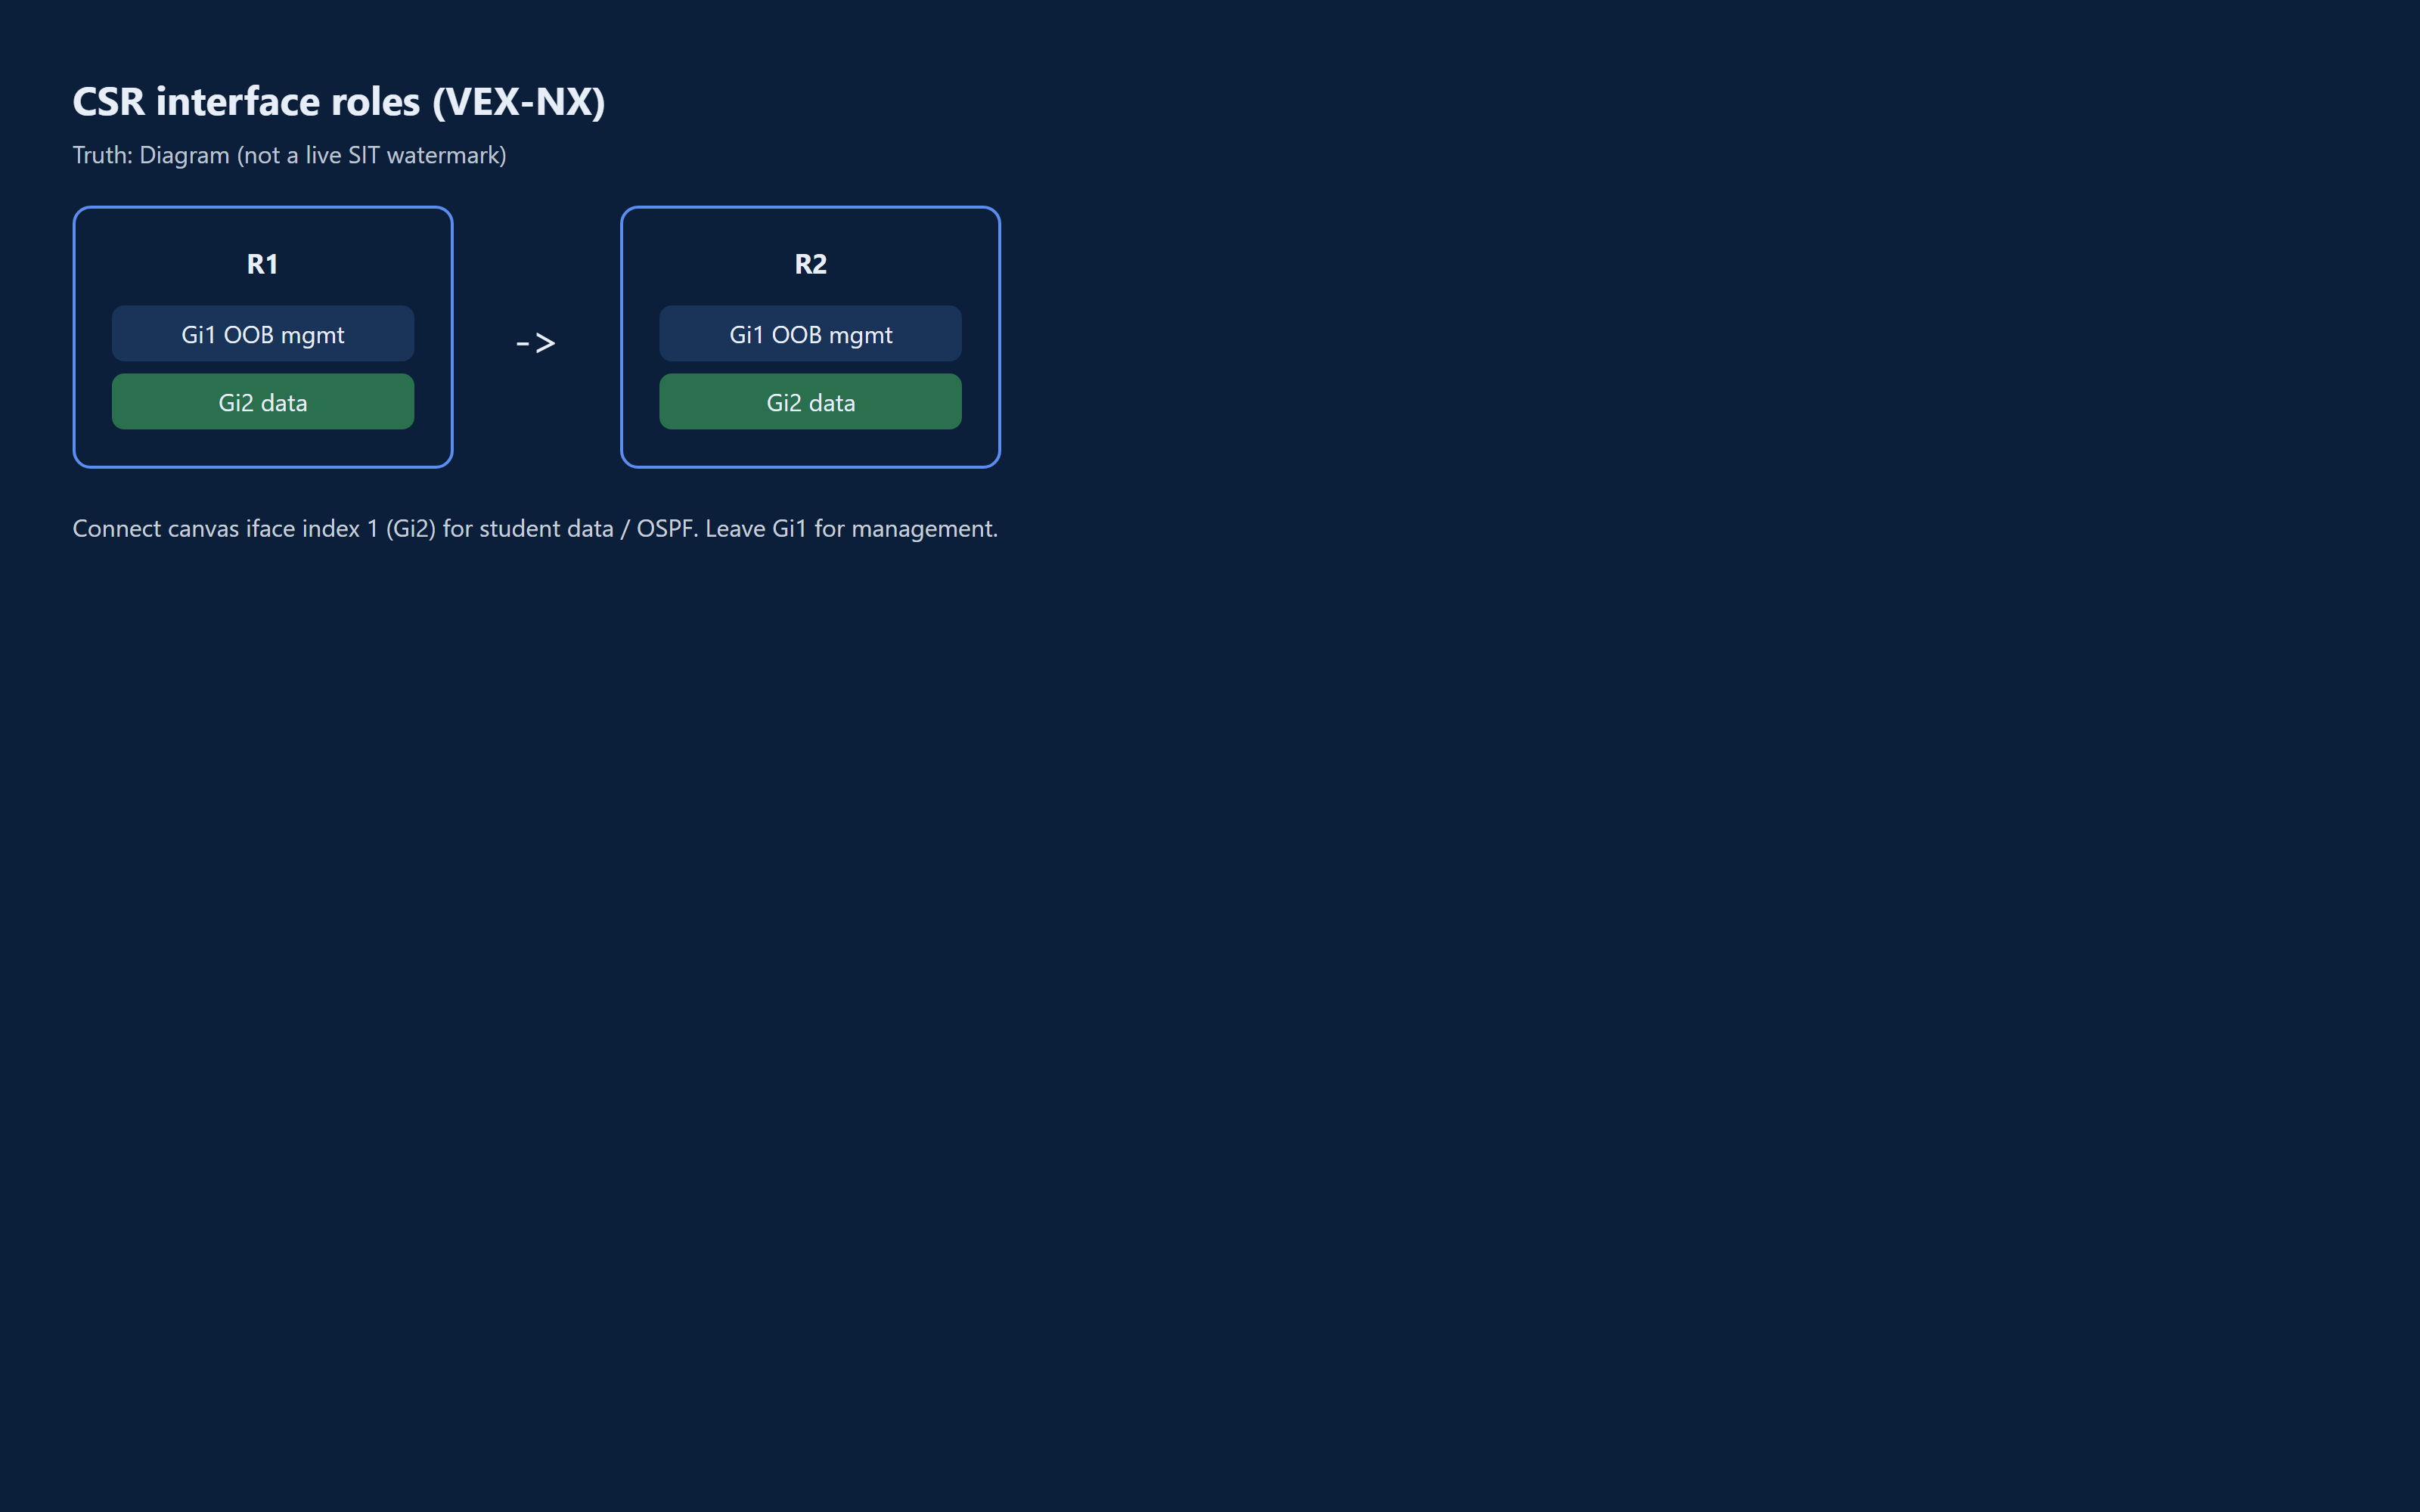
| What you see | Gi1 OOB mgmt vs Gi2 data |
| Why it matters | Do not put OSPF on Gi1 |
| Try it | Connect student data on Gi2+ |
| Cookbook | CSR and multi-NIC interfaces |
| Truth | Diagram |
4. Operate and console
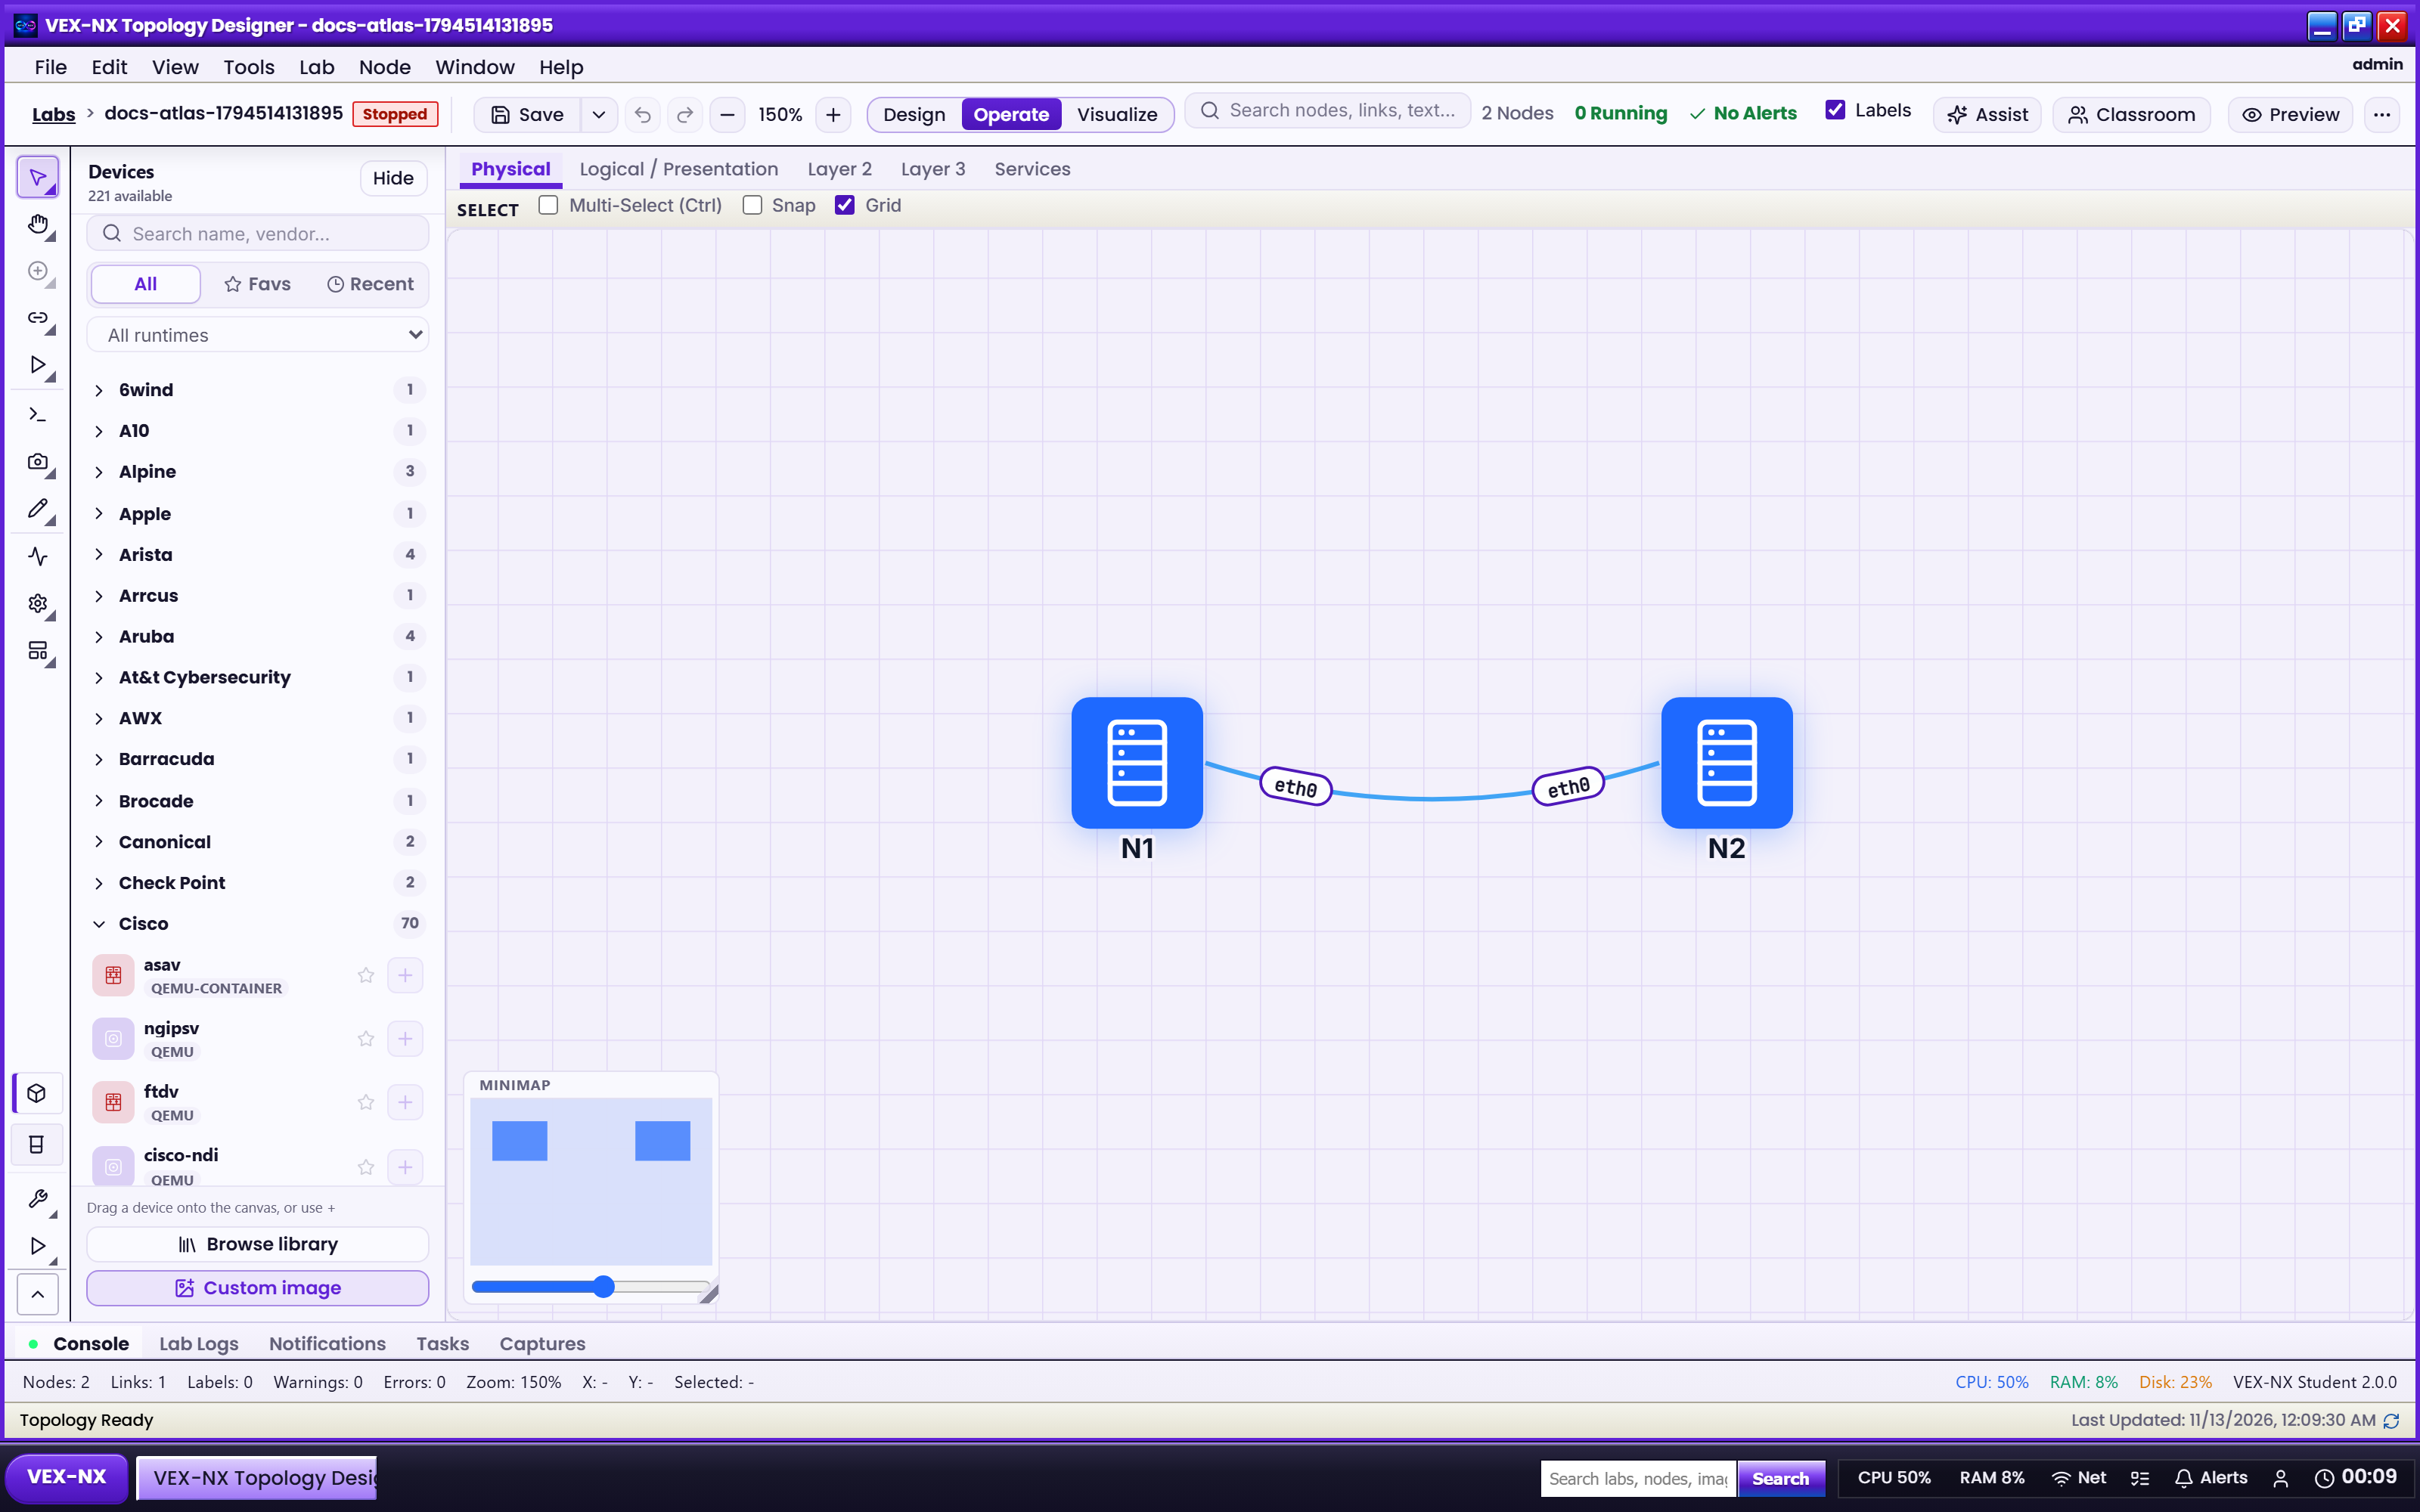
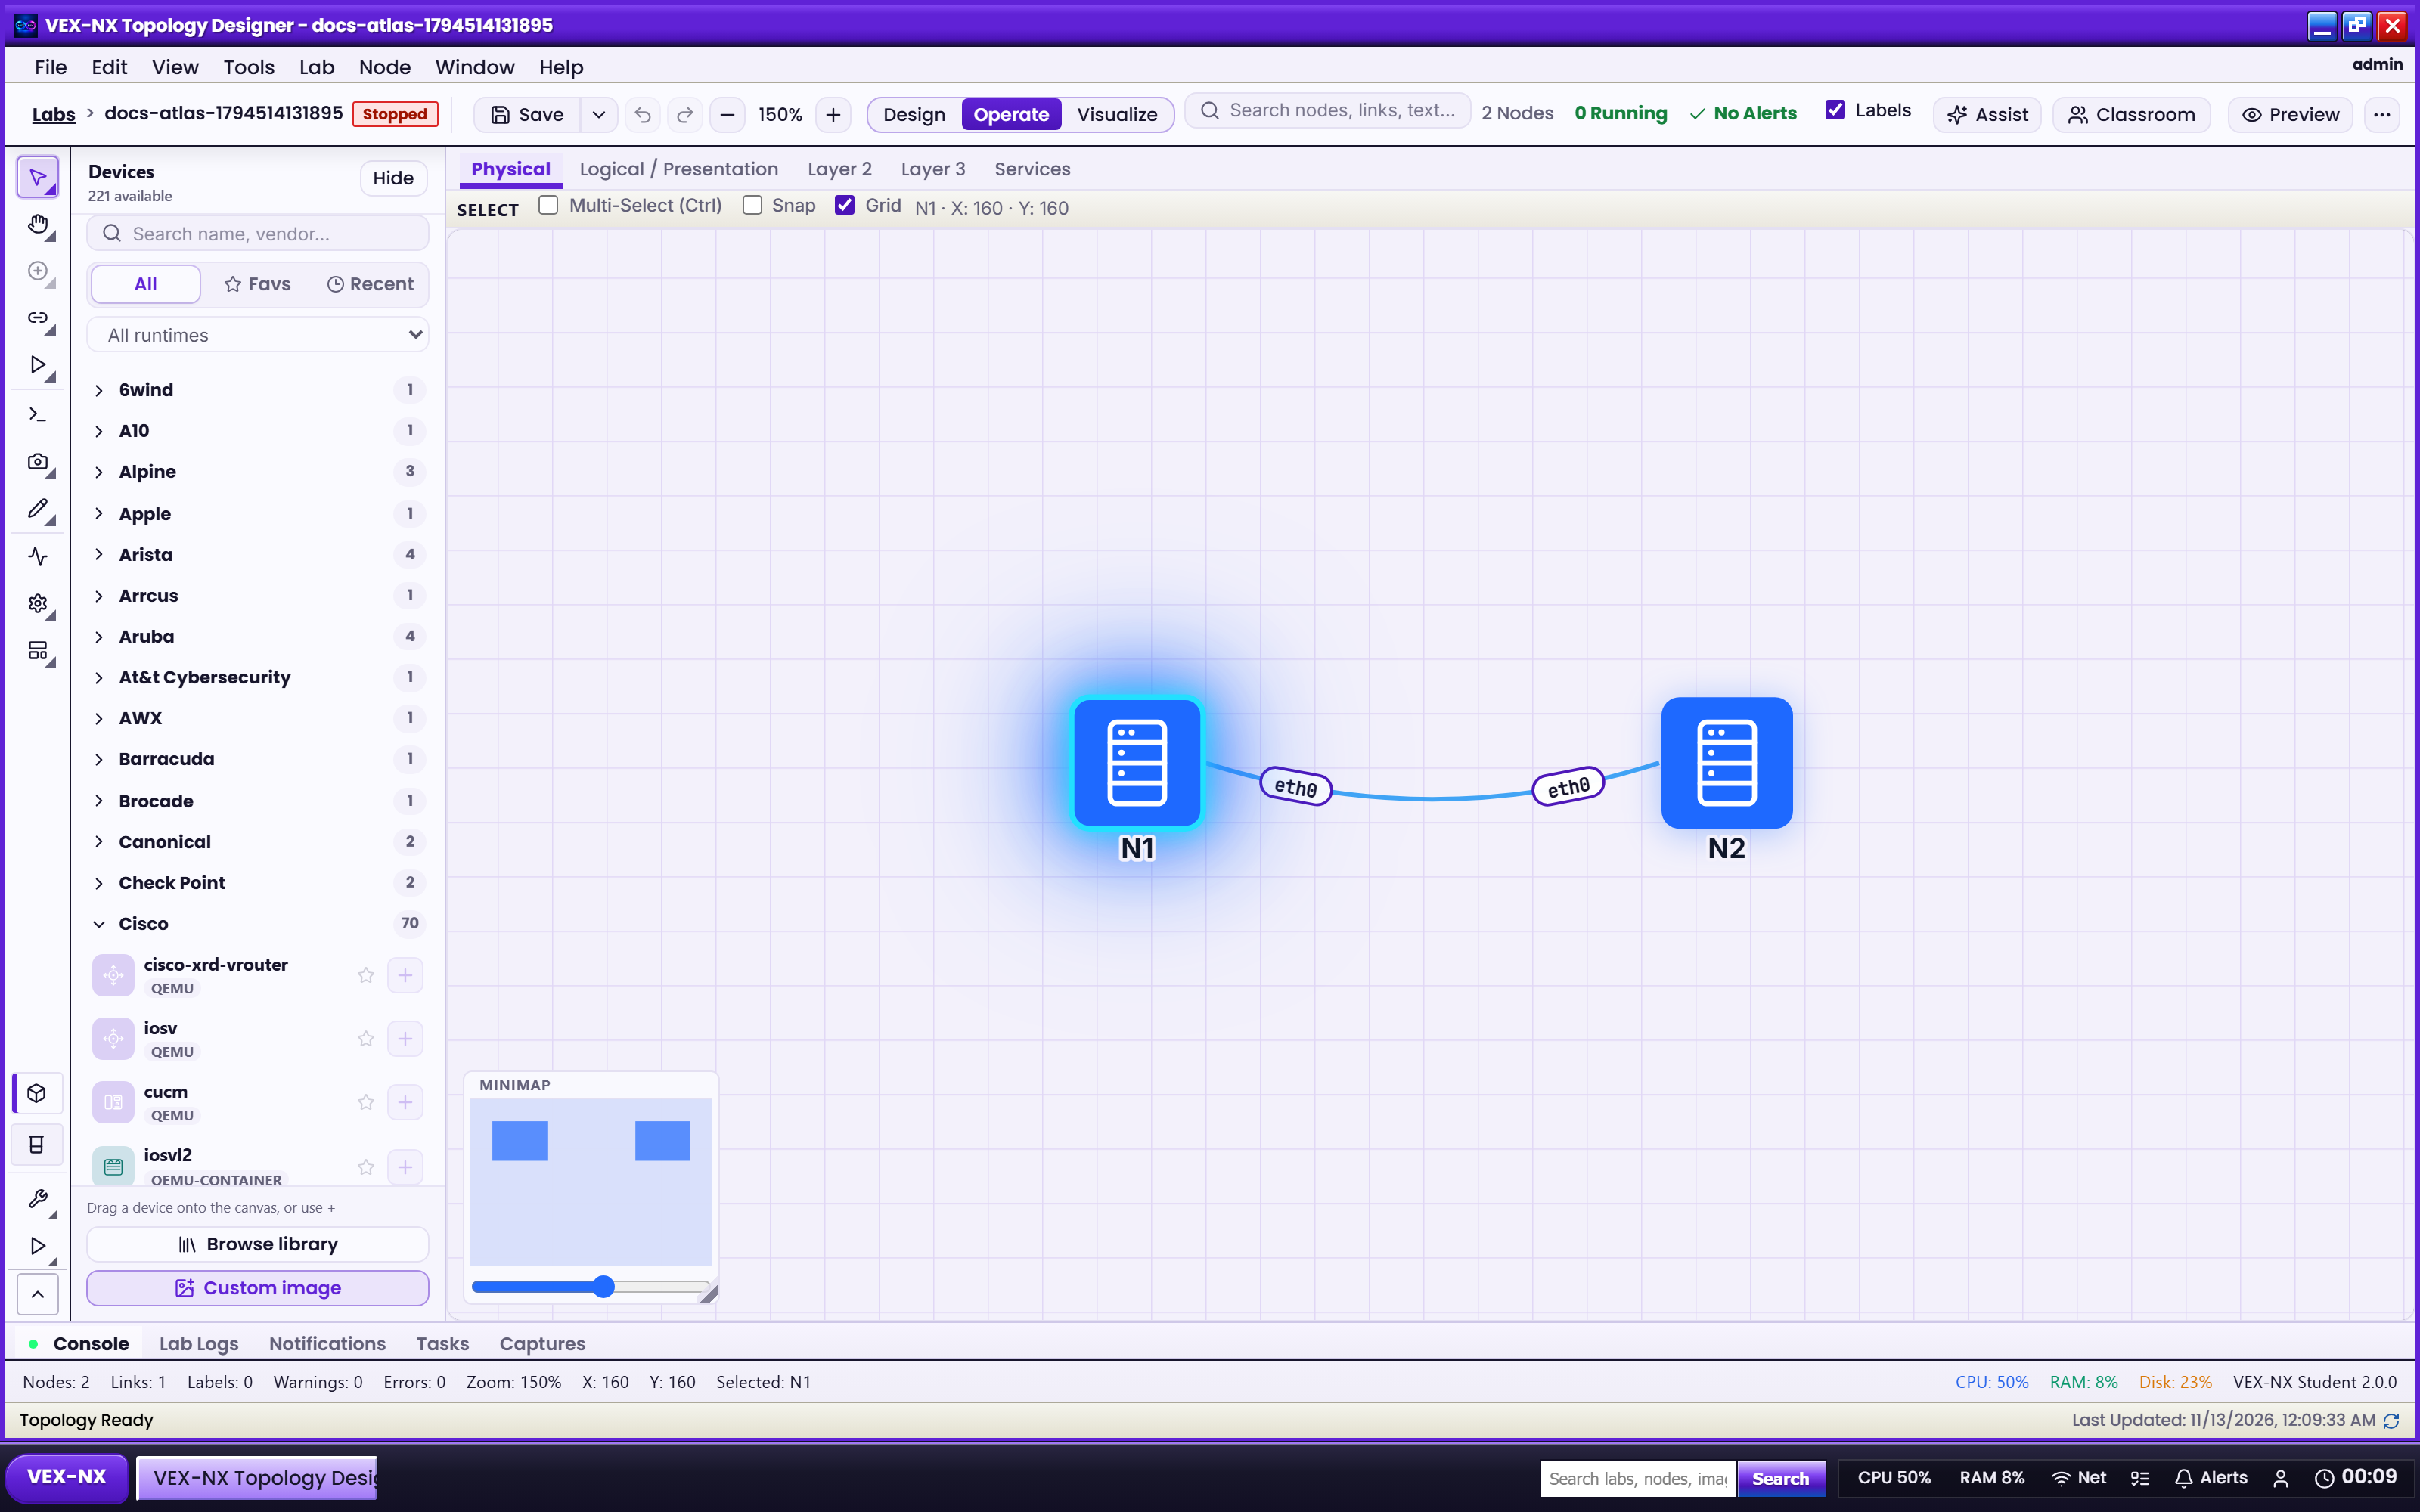
| What you see | Operate lifecycle + bottom console dock |
| Why it matters | Start / Stop / Wipe and serial without leaving the lab |
| Try it | Operate -> select node -> Console |
| Cookbook | Operate and consoles |
| Truth | Live UI |
5. Traffic Lens and Present
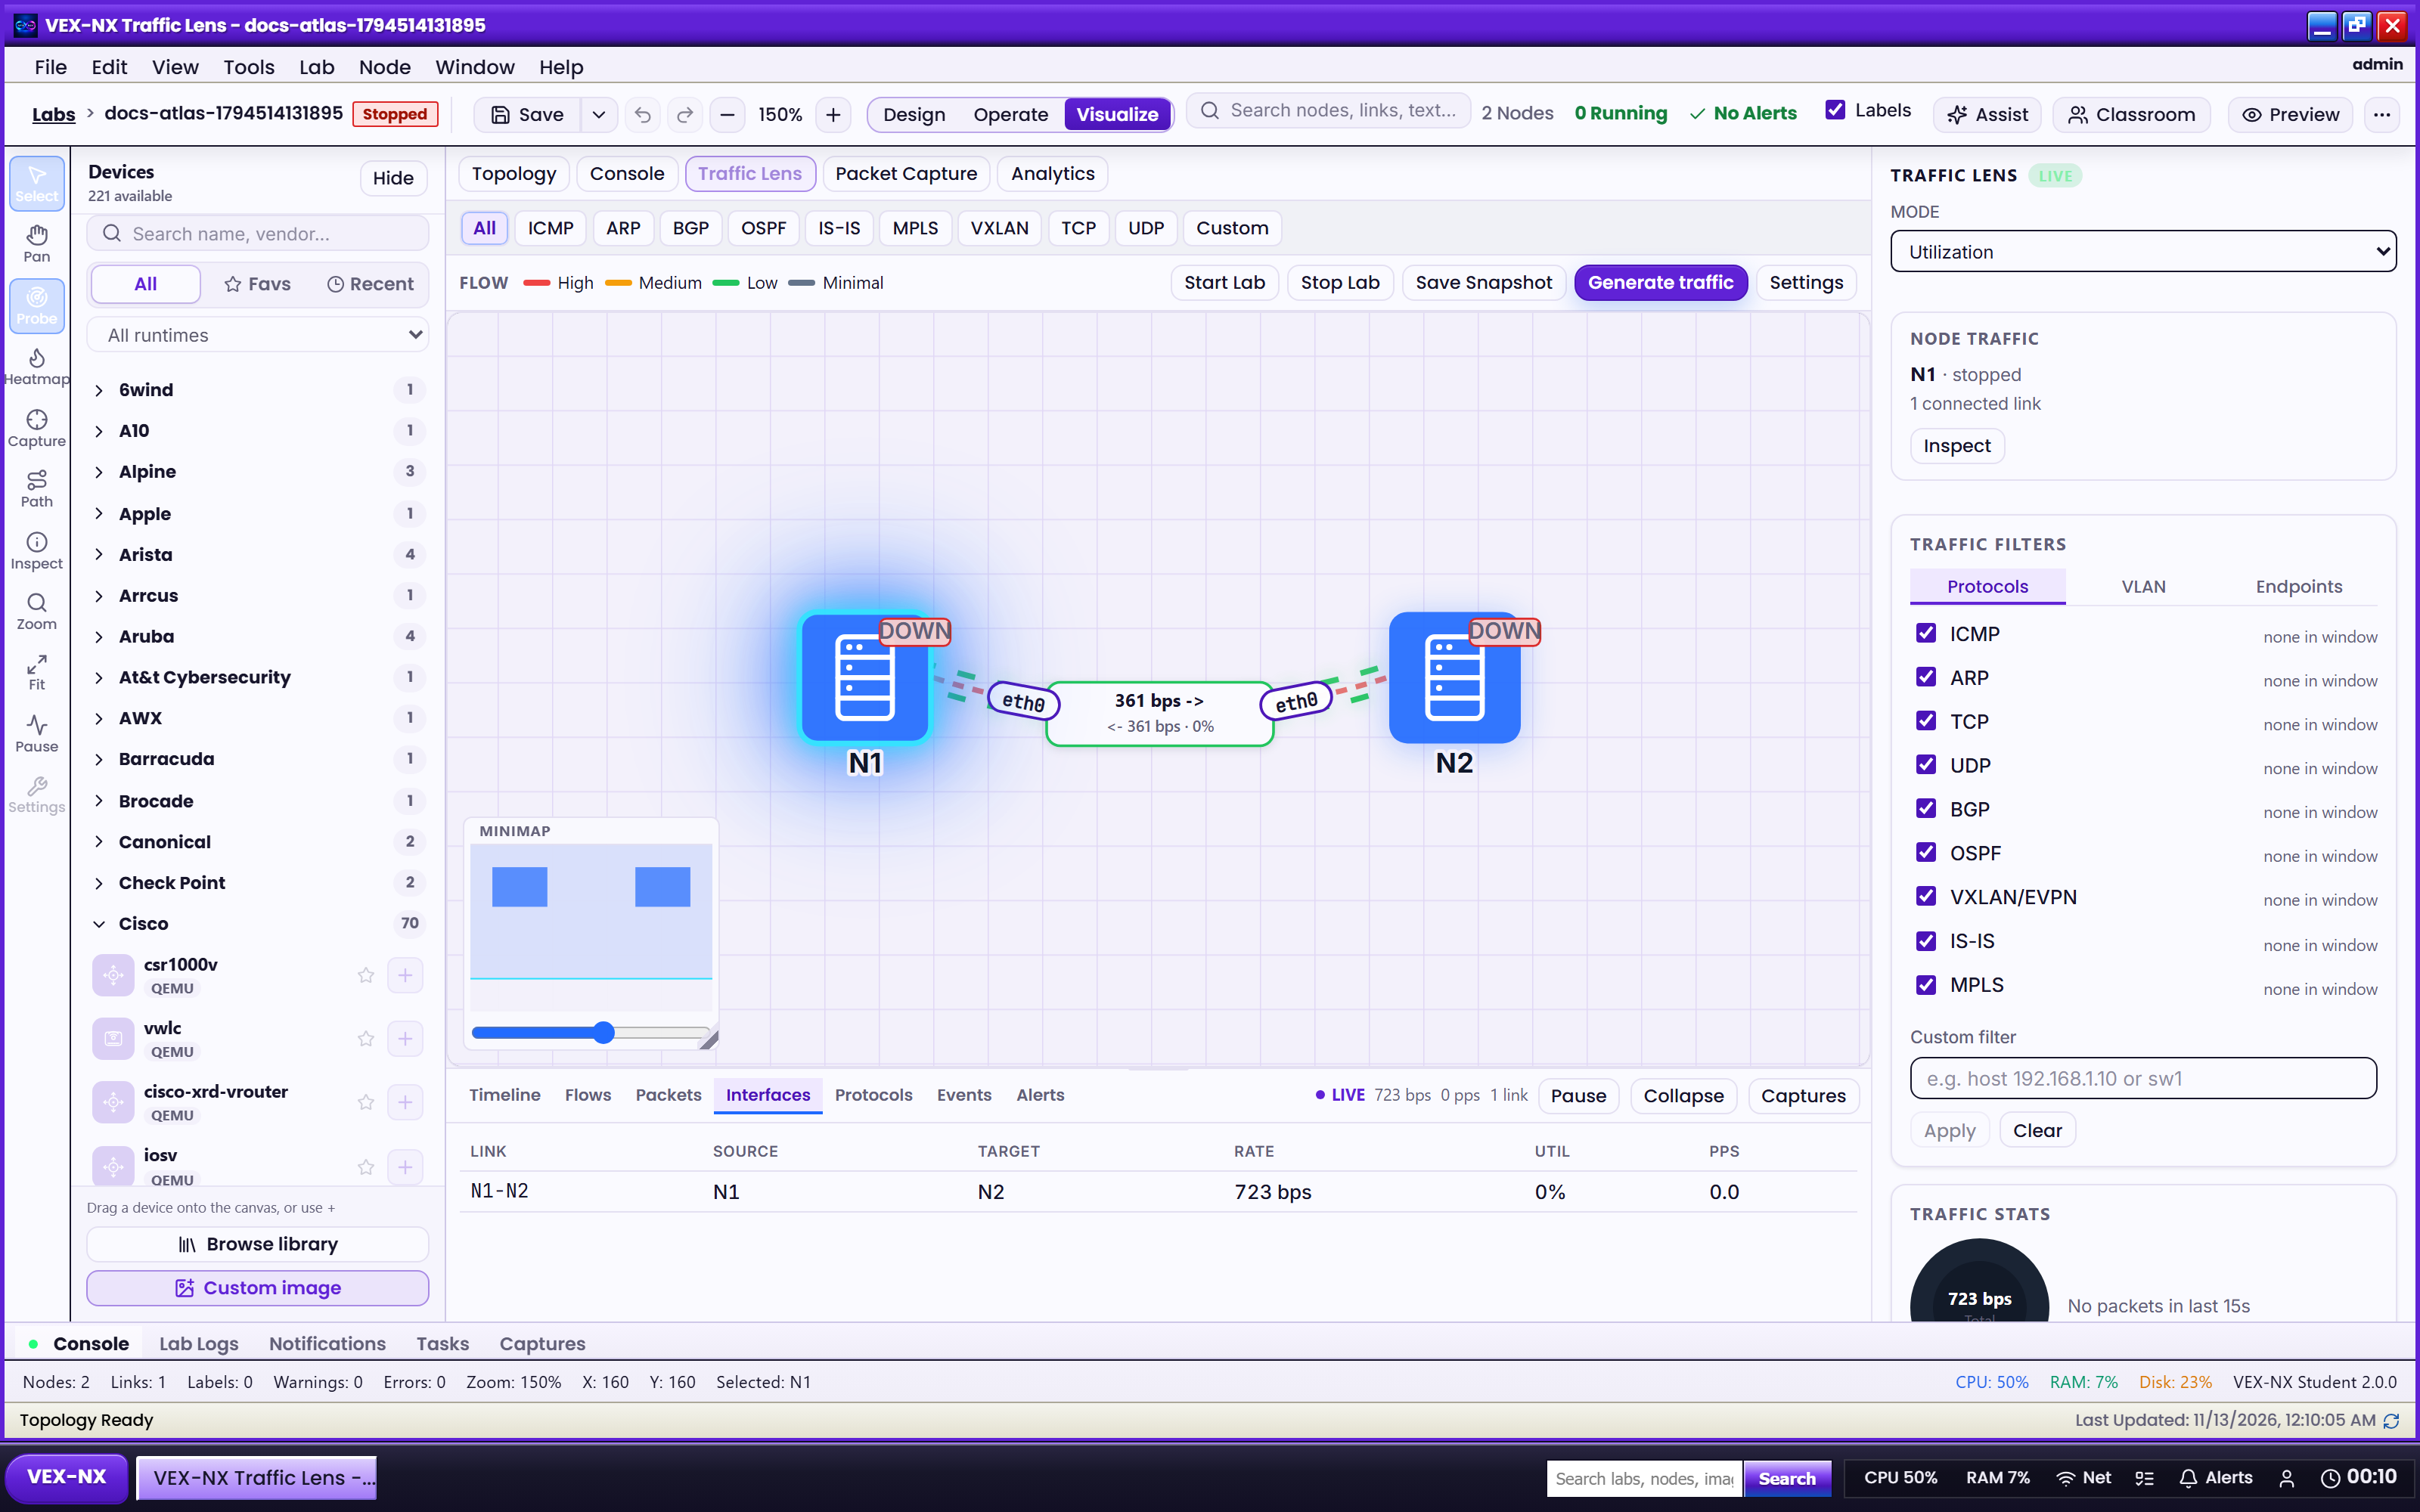
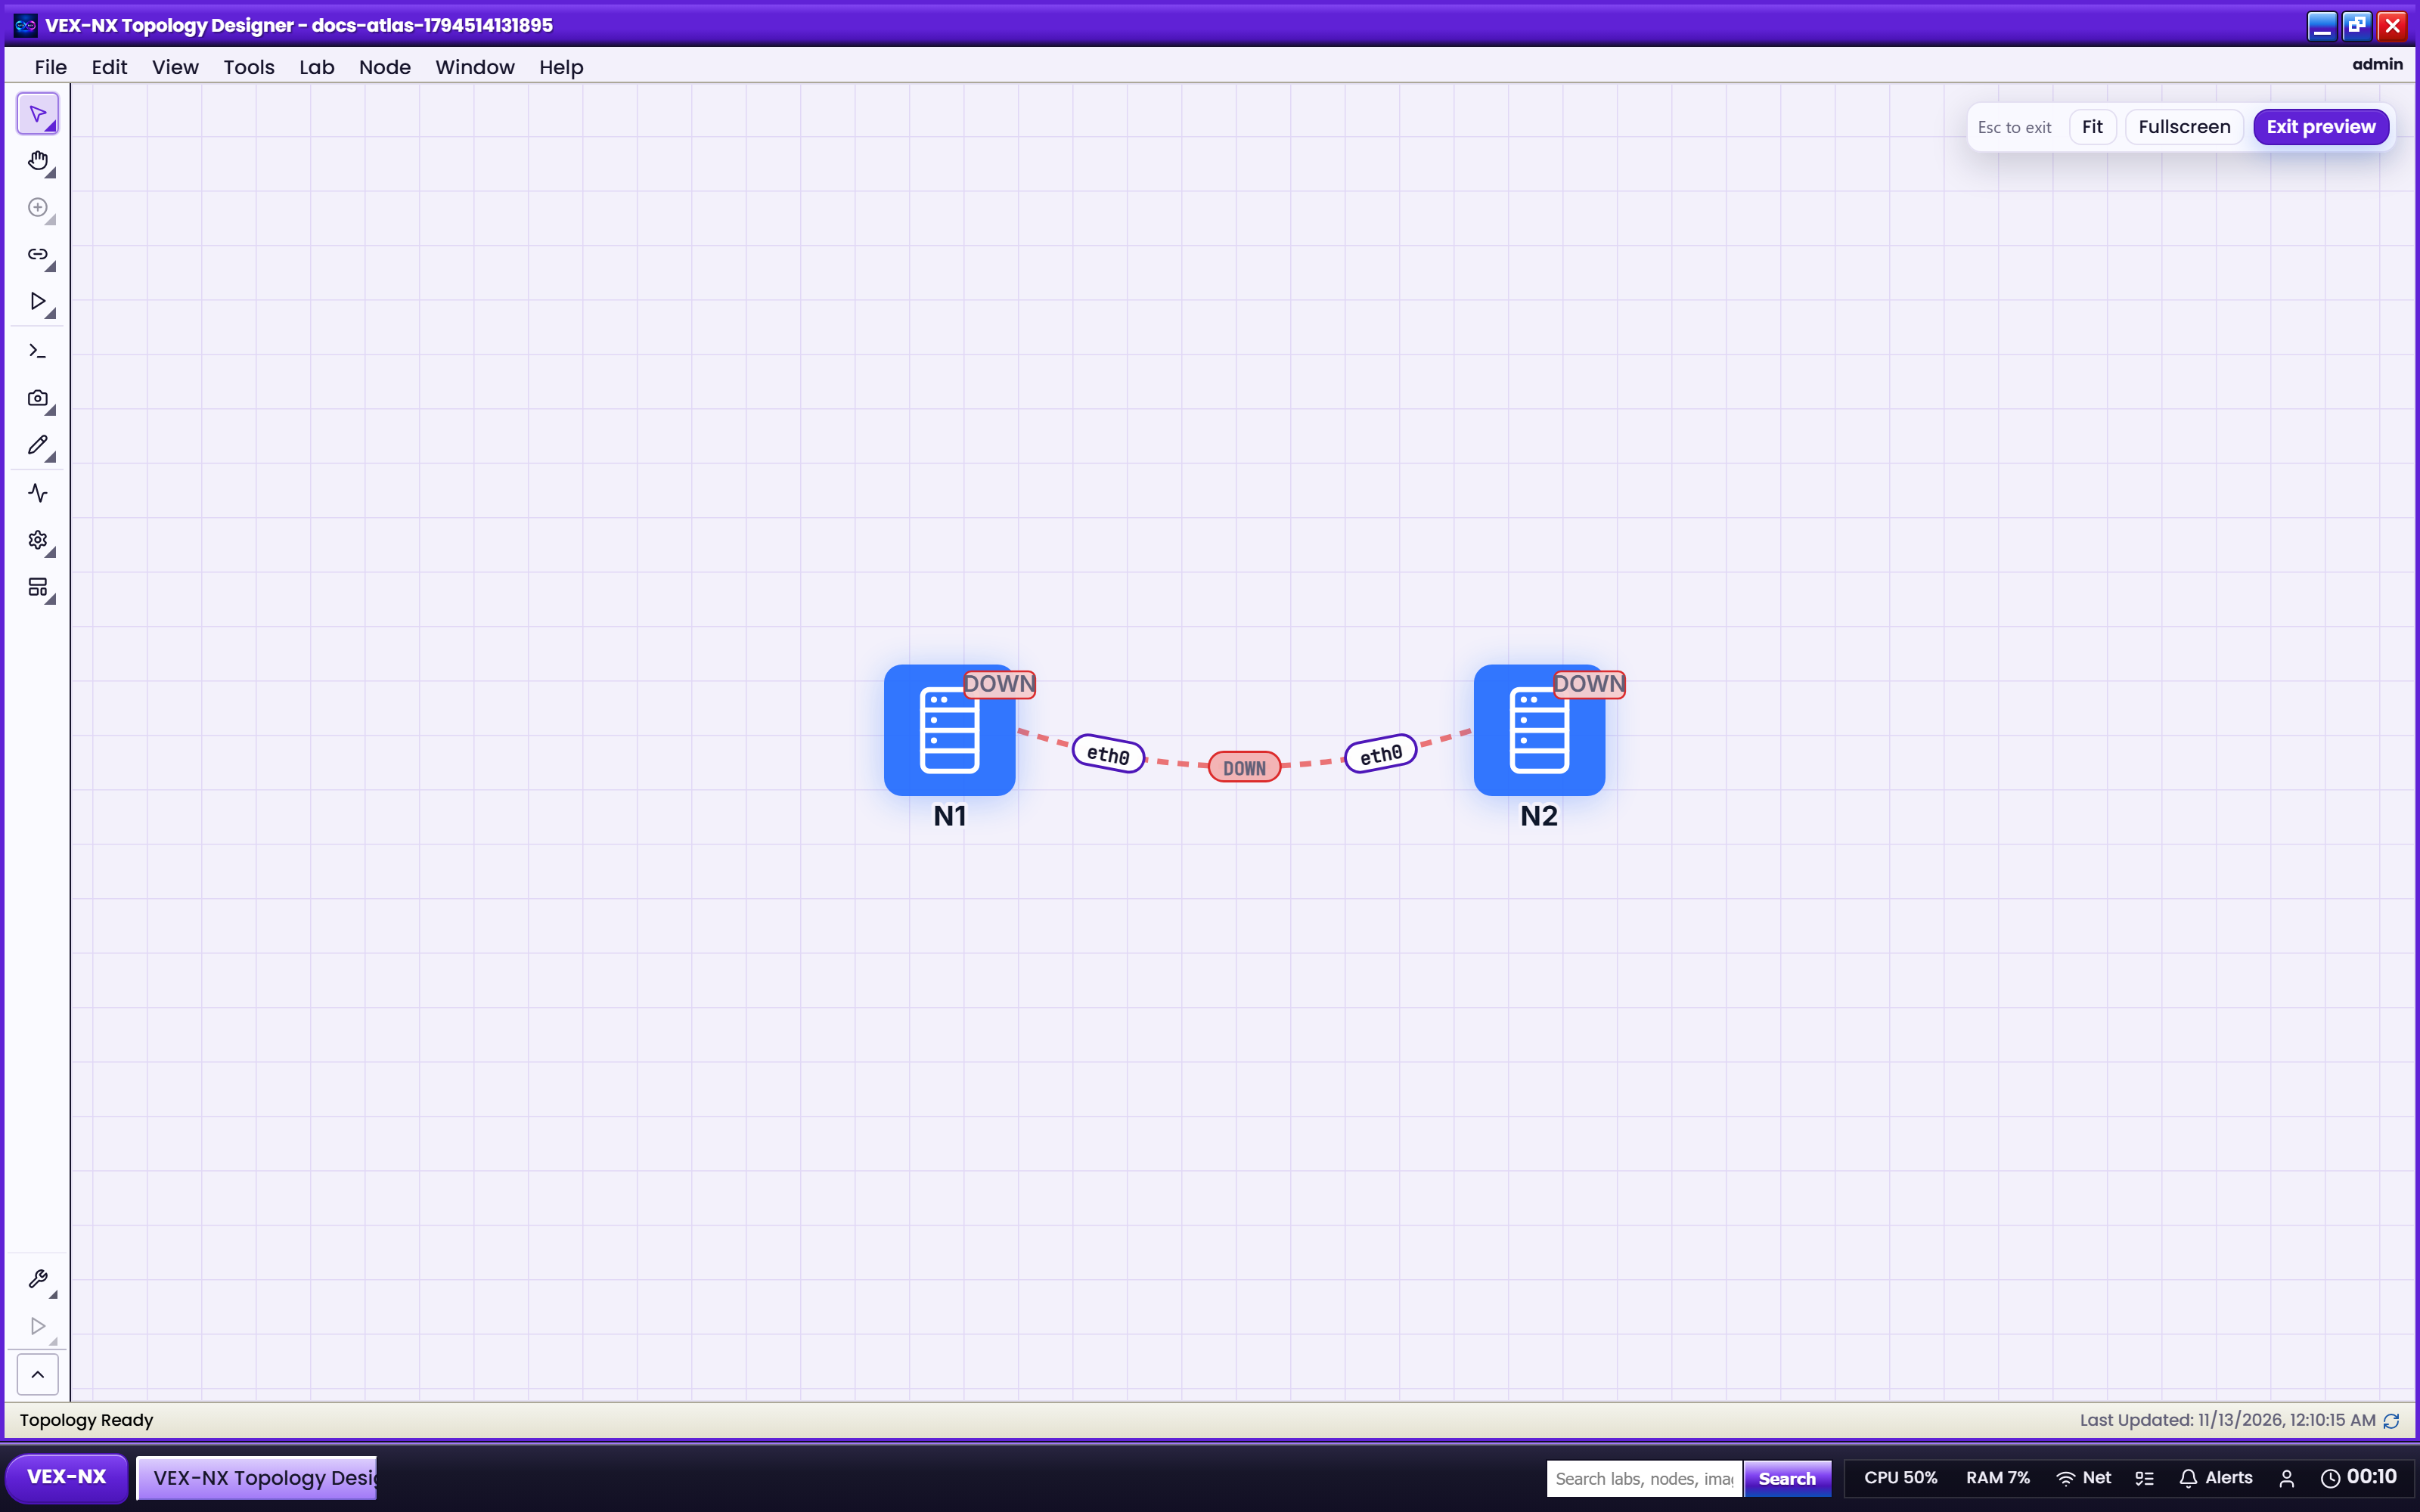
| What you see | Utilization paint, then clean Present HUD |
| Why it matters | Demo without accidental edits; Present is not Preview |
| Try it | Visualize -> Traffic; More -> Present |
| Cookbook | Visualize, Present, and Preview |
| Truth | Live UI |
6. Assist (optional)
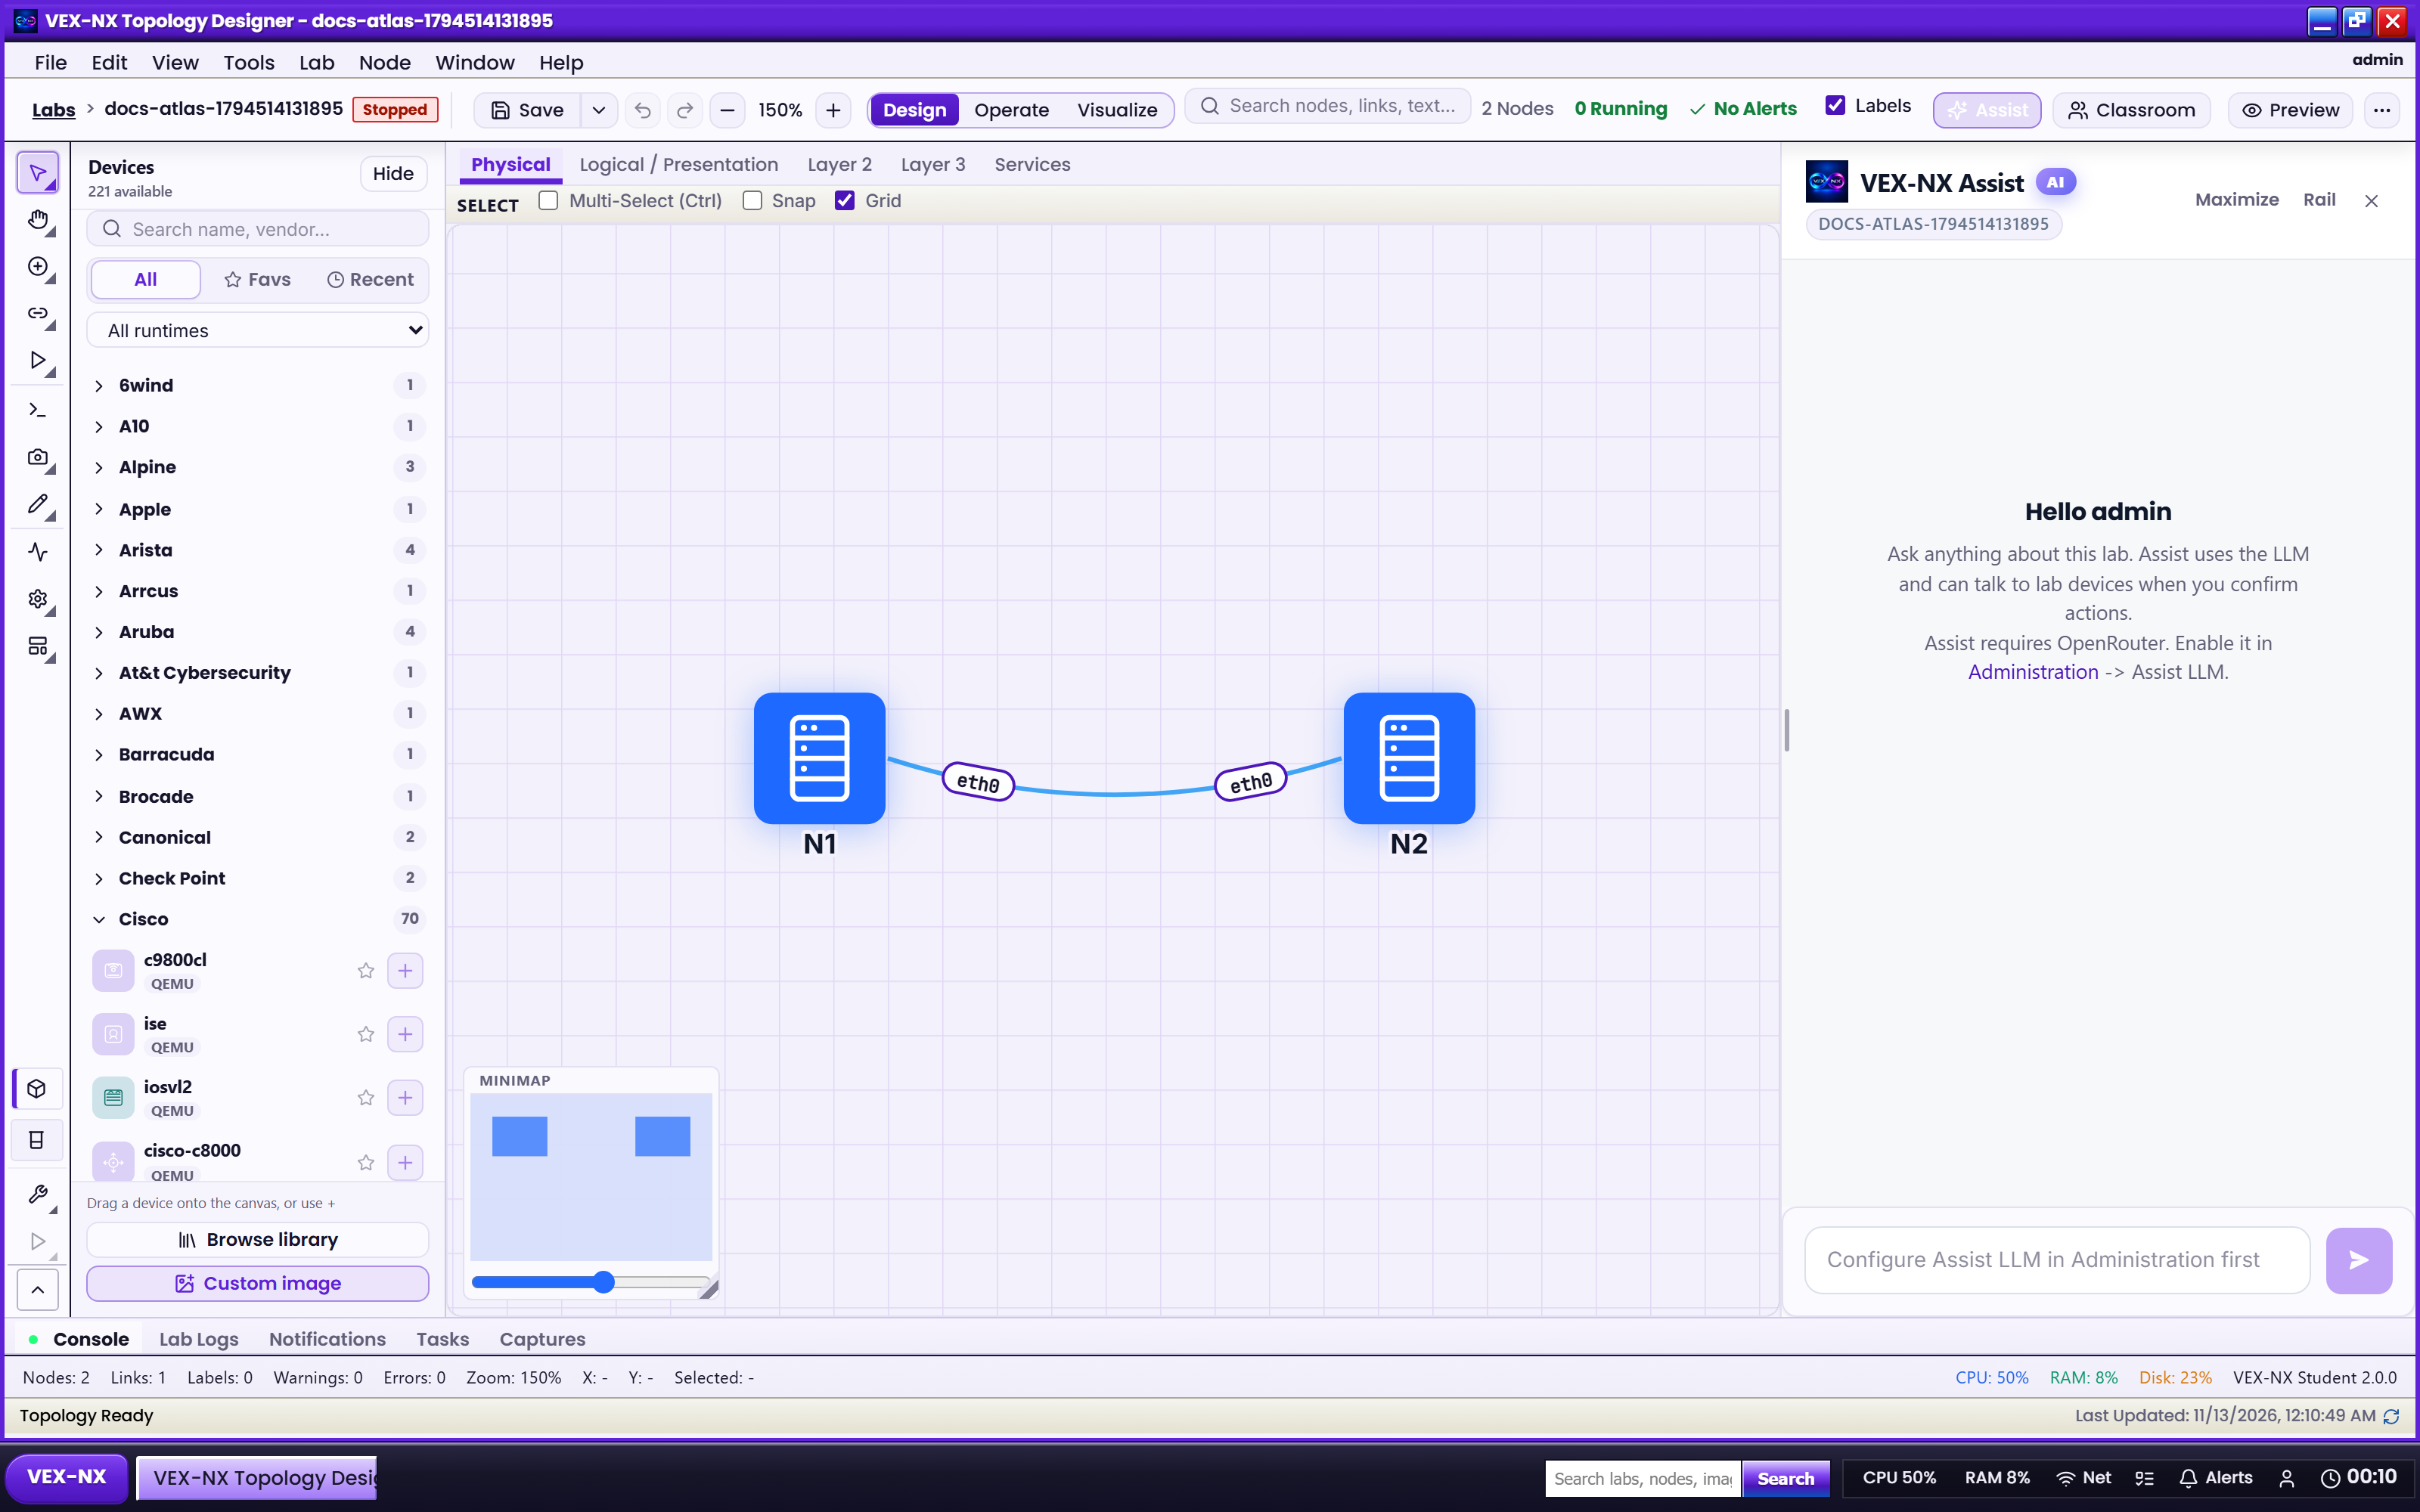
| What you see | In-lab Assist Chat rail |
| Why it matters | Ask about the open lab without leaving the canvas |
| Try it | Lab -> Assist |
| Cookbook | Using Assist |
| Truth | Live UI |
Next
Day 3: Teach a class